Blotchy ink on corrugated packaging usually stems from substrate moisture, misaligned ink heads, or inadequate drying. This guide lists common symptoms, likely causes, and specific fixes to help buyers and engineers stabilize print quality during production runs.
- Identify the specific type of blotch before adjusting machine settings to avoid masking the root cause.
- Check substrate moisture levels and liner type, as these directly influence ink absorption and transfer.
- Verify print unit registration and ink film thickness to ensure even coverage across the run.
- Use short test runs and standardized lighting to catch defects early in the production cycle.
Blotchy ink on corrugated packaging is one of the most common complaints in the box printing industry. It often appears as uneven color, ghosting, or patches of missing coverage on the final product. These defects are rarely caused by a single factor. They usually result from a combination of machine settings, material properties, and environmental conditions.
What causes uneven ink coverage on corrugated board?
The corrugated substrate is porous and uneven in its surface texture. This makes it more sensitive to ink application than a smooth paper. Several variables interact to create blotchy results.
Ink viscosity is the first factor. If the ink is too thick, it will not flow into the micropores of the board. It sits on the surface and can rub off during handling or downstream processing. If the ink is too thin, it soaks too quickly into the flutes and liner, leaving a lighter, patchy look.
Substrate moisture content plays a major role. High humidity in the warehouse can raise the moisture level in the board. Wet corrugated board absorbs ink differently. It can cause the ink to spread or break up as it dries. Conversely, dry board in winter months can hold ink poorly, leading to scuffing and uneven transfer.
The liner type matters as well. Singlewall corrugated with a kraft liner behaves differently from doublewall or lined board. Coated liners resist ink absorption and require different drying conditions. Uncoated liners drink ink rapidly. If the print head or screen is not adjusted for the specific liner, the ink film thickness will vary across the sheet.
How to diagnose the type of blotch
Not all blotches are the same. Identifying the specific pattern helps point to the correct fix.
- Random speckling usually indicates ink contamination or a clogged print head. The ink is not being deposited consistently.
- Horizontal banding often points to a mechanical issue, such as a worn belt or a misaligned platen.
- Vertical streaks can result from a damaged screen or a dirty ink duct.
- Ghosting or offsetting happens when the ink has not dried before the box is stacked or cut.
- Color fading in the center may indicate that the substrate is too moist, causing the ink to wick away from the printed area.
Inspecting the defect under raking light is a simple but effective step. This method highlights surface texture and reveals whether the ink is actually missing or just sitting on the surface.
Troubleshooting table for common printing defects
The table below summarizes the most frequent issues seen in box printing. It helps buyers and engineers match a symptom to a likely cause and a practical fix.
| Symptom | Likely cause | What to do |
|---|---|---|
| Light, patchy print | Ink too thin or substrate too dry | Adjust ink dilution; increase board humidity or use a pre-moistener |
| Dark, muddy print | Ink too thick or substrate too wet | Reduce ink volume; lower board moisture or increase drying time |
| Horizontal bands | Worn printing belt or misaligned platen | Inspect and replace worn belts; realign the print head to the substrate |
| Vertical streaks | Dirty screen or clogged ink duct | Clean the screen and duct; flush the ink system with solvent |
| Ghosting or offsetting | Insufficient drying time or high ink film thickness | Extend drying time; reduce ink load; use a UV dryer if available |
| Scuffing during handling | Ink not fully cured | Verify drying conditions; apply a topcoat if required by the design |
Adjusting ink and machine settings
Once the defect is identified, the first step is usually adjusting the ink and machine parameters. This requires a small batch of test sheets.
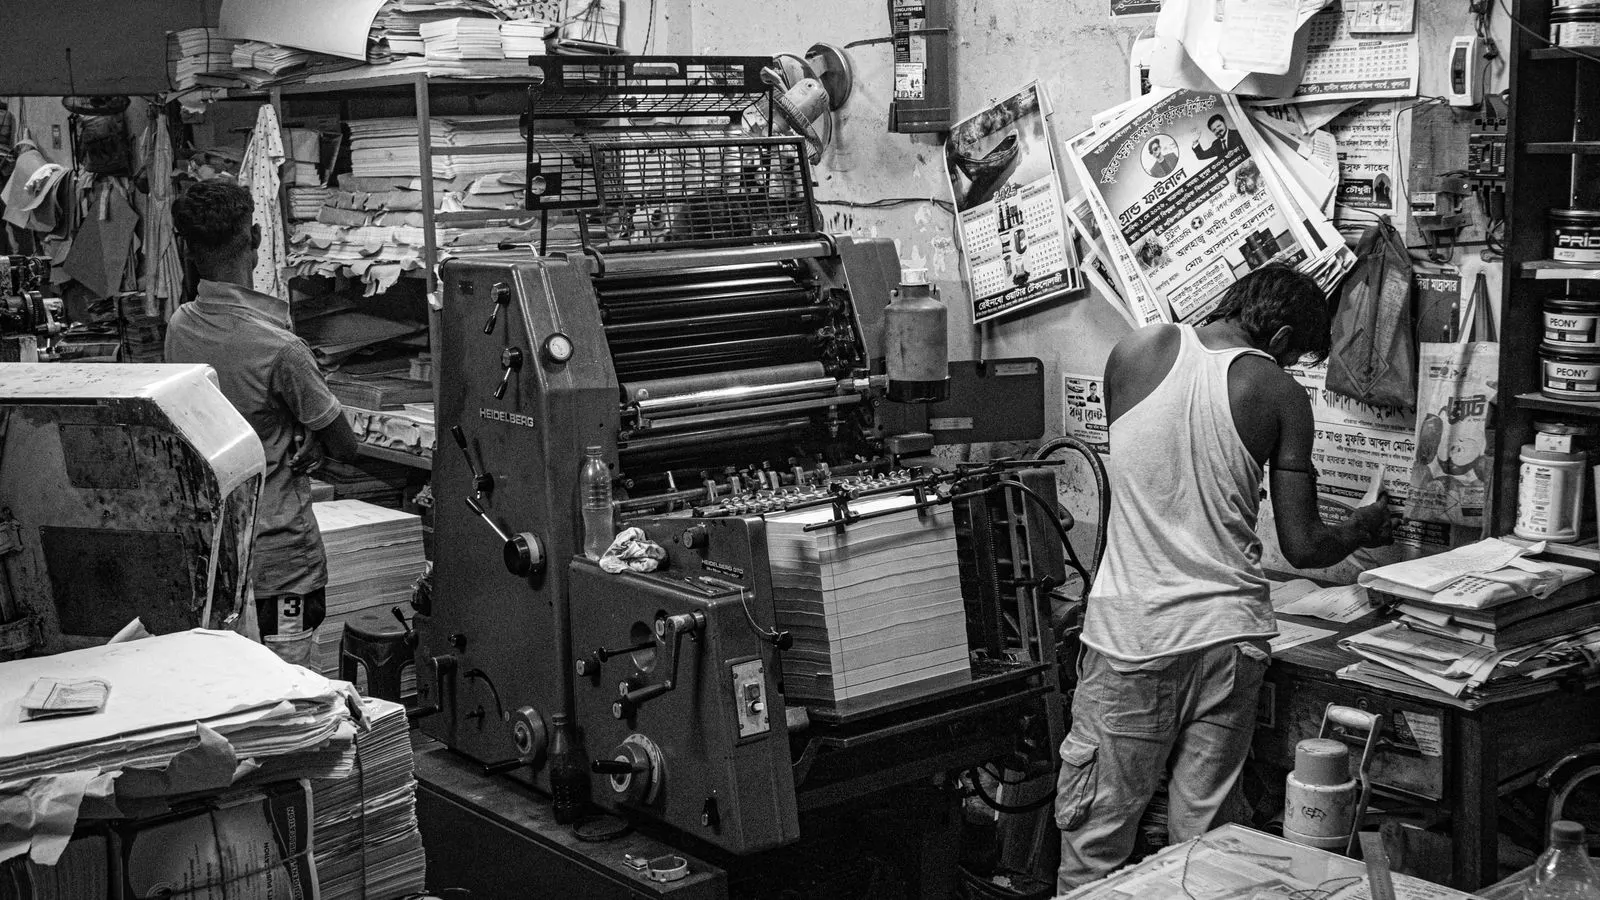
Start with the ink film thickness. A standard offset press for box printing typically runs a specific volume. If the press is depositing too much ink, the substrate cannot absorb it evenly. Reduce the ink feed or adjust the doctor blade pressure. If the press is starving for ink, the print will look broken up. Increase the feed or clean the ink rollers.
Check the registration. Even a slight misalignment between the print head and the substrate can cause ink to land in the wrong place. On a flexo press, the impression cylinder must be in tight contact with the board. If the cylinder is too loose, the ink will smear. If it is too tight, it will drag and create streaks. Adjust the impression pressure until the test sheet shows a sharp, clean print.
For screen printing, the screen tension and squeegee angle are critical. A loose screen will cause the ink to spread. A squeegee that is too flat will pull too much ink. Adjust these settings to match the ink viscosity and the board type.
Controlling substrate moisture and handling
The corrugated board is the base of the print. If the board is not stable, no amount of machine tuning will fix the blotch.
Monitor the moisture content of the board. Most corrugated mills specify a target range for moisture, often between 5% and 8%. This range can vary depending on the climate and the liner type. If the board is too dry, it will reject ink. If it is too wet, it will absorb ink unevenly and may warp during the run.
Store the board in a controlled environment. Fluctuations in temperature and humidity between the warehouse and the printing floor cause the board to expand and contract. This movement disrupts the contact between the ink and the board. Allow the board to acclimate to the factory conditions for at least a few hours before starting a run.
Check the liner type and finish. A glossy liner requires a different ink formulation than a matte liner. Using the wrong ink for the surface will cause adhesion problems and blotching. Always match the ink type to the substrate specification.
Preventing blotchy ink in future runs
Prevention is cheaper and faster than troubleshooting. A few simple checks can catch issues before they become a production problem.
- Run a test sheet at the start of every job. Do not wait for the full run to check quality. Print one or two sheets, inspect them under good light, and sign off before proceeding.
- Keep a log of machine settings. Record ink type, viscosity, impression pressure, and drying time. This creates a baseline for future jobs and makes troubleshooting easier.
- Clean the press regularly. Ink residue builds up on rollers, screens, and ducts. This residue can contaminate fresh ink and cause blotches. Use the correct solvent and follow the manufacturer’s cleaning schedule.
- Train operators on substrate checks. Operators should inspect the board for moisture, dirt, and damage before it enters the press.
- Standardize lighting in the inspection area. Blotches are easier to see under consistent, bright light. Avoid inspecting in direct sunlight or dim lighting.
When to call for help
Sometimes the issue is beyond the reach of the print operator. If the blotch persists after adjusting ink, machine settings, and board moisture, the problem may be mechanical or material.
A worn impression cylinder, a damaged screen frame, or a faulty ink pump can cause persistent defects. In these cases, it is worth contacting the equipment manufacturer or a specialist. They can diagnose the problem and recommend repairs. Do not ignore a recurring defect. It can waste material and damage the reputation of the print supplier.
Blotchy ink is a common issue in box printing, but it is rarely a mystery. By understanding the interaction between ink, machine, and substrate, buyers and engineers can diagnose and fix the problem quickly. A methodical approach to troubleshooting saves time, reduces waste, and ensures a high-quality final product.
Frequently asked questions
Can I fix blotchy ink by just adding more ink?
No. Adding more ink usually makes blotching worse by increasing the ink film thickness beyond what the substrate can absorb. You need to adjust the ink formulation, machine settings, or board moisture.
Does the type of corrugated board affect print quality?
Yes. Singlewall, doublewall, and lined boards absorb ink differently. A coated liner resists absorption, while an uncoated liner absorbs it quickly. The print settings must be matched to the specific board type.
What is the best way to inspect for blotches?
Use raking light. Shine a light across the surface of the printed box at a low angle. This highlights texture and makes it easy to see missing ink, scuffing, or uneven coverage.
How long should I let the board acclimate before printing?
Allow the board to sit in the factory environment for at least a few hours before starting a run. This lets the moisture content stabilize and reduces the risk of warping or uneven ink absorption.
Is UV curing a solution for blotchy ink?
UV curing can help by drying the ink faster and preventing ghosting or offsetting. However, it does not fix the root cause of blotching, such as incorrect ink viscosity or substrate moisture.