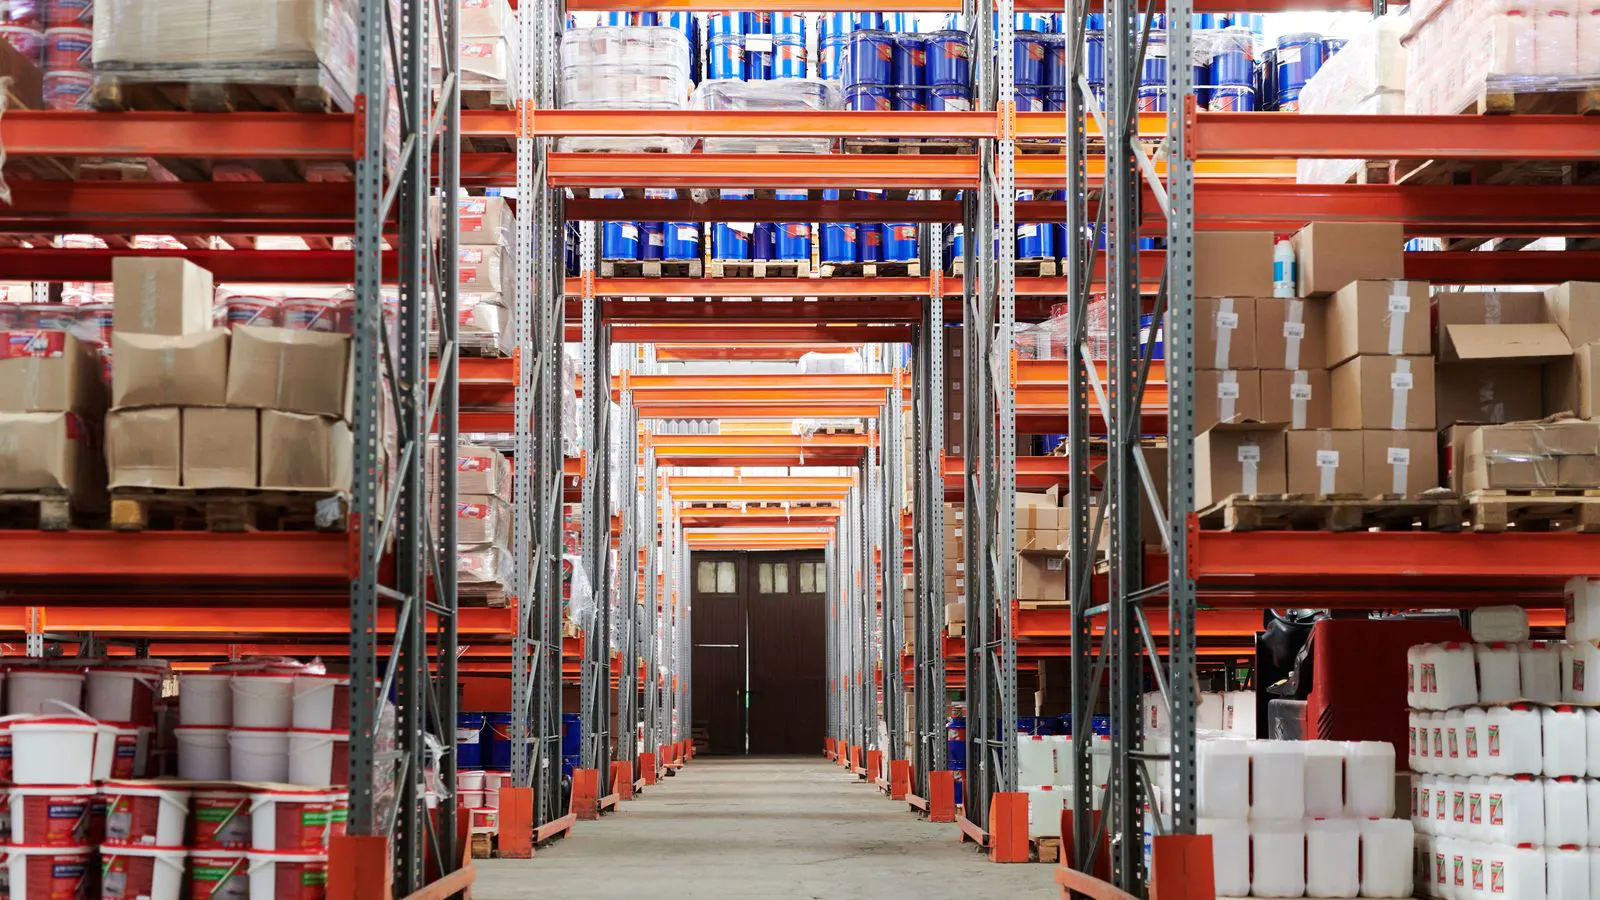
A pre-shipment carton inspection checklist helps buyers verify quality control and structural integrity. It covers dimensions, board quality, tape, and labeling to catch defects that compromise shipping boxes before they reach the customer.
- Verify board type, fluting, and edge quality to confirm the carton meets the intended load.
- Check tape placement and seal strength, as weak seals are the most common cause of transit failure.
- Confirm labels, barcodes, and markings are legible and positioned correctly for handling equipment.
- Inspect the bottom flaps and corners for crush damage or moisture exposure before sealing.
- Document findings with photos and retain a sample box for dispute resolution if needed.
Why Pre-Shipment Inspection Matters
Shipping boxes that fail in transit do not just cost the goods inside. They create returns, damage claims, and lost customer trust. A quick pre-shipment inspection catches defects before they become expensive problems.
The goal is not to audit every box in the shipment. The goal is to verify that the boxes arriving at your dock or warehouse are consistent, structurally sound, and ready for the intended transport conditions.
Use this checklist when receiving cartons from a converter, before loading a truck, or when spot-checking inventory that has been in storage.
Verify Dimensions and Fit
Start by measuring the external dimensions of the carton. Compare the results against the purchase order or specification sheet.
Check the length, width, and height. A box that is 2 or 3 millimeters off can still be acceptable, but a deviation of 10 millimeters or more suggests a conversion error. This error can cause the box to not fit into the pallet pattern or the shipping container.
Measure the internal volume as well. The internal space determines how much product you can actually pack. If the internal dimensions are smaller than expected, you may need to reconfigure the pack layout.
For multi-piece shipments, verify that the box size matches the product weight. A lightweight product in a large, heavy-duty box wastes space and increases shipping cost. A heavy product in an undersized box risks crushing the contents.
Check Board Quality and Fluting
The corrugated board is the structural backbone of the carton. Inspect the board before opening the box.
Look at the edges of the flaps. A clean, sharp cut indicates proper die-cutting. Ragged, torn, or frayed edges mean the board may have been cut incorrectly or stored in a way that caused damage.
Check the fluting pattern. The corrugated board has a series of vertical ridges called flutes. Common flutes range from smaller, dense patterns to larger, more open ones. The specific flute type determines the box strength.
If the flutes are crushed or flattened, the board has lost its compressive strength. This is a major red flag. The box may look fine on the outside, but it will not support heavy loads or withstand stacking pressure.
Inspect the board for moisture damage. Corrugated board is sensitive to humidity. If the board feels soft, looks discolored, or has a musty smell, it has been exposed to excessive moisture. Moisture weakens the board and can cause the box to collapse during transit.
Check the edges for delamination. The board is made of multiple layers of paper glued together. If the layers separate, the board will not perform as specified. Look for visible gaps or peeling at the cut edges.
Inspect Tape and Seals
Tape is the most common point of failure in shipping boxes. A weak seal can open the box during handling, spilling the contents.
Check the tape type. Polypropylene tape is standard for most applications. It is strong and resistant to moisture. If the tape is paper-based, it may not hold up in damp conditions.
Inspect the seal location. The tape should run across the center of the top flaps. Avoid tape that runs only along the edge of the flaps. A center seal distributes stress more evenly and is less likely to tear under load.
Press down on the tape. It should feel firm and not lift at the corners. If the tape lifts when you press it, the adhesive is weak or the surface was not clean before application.
Check the tape width. A standard tape width is usually 48 millimeters. Wider tape can provide a stronger seal, but it costs more. Thinner tape may not cover the full width of the flaps, creating weak points.
Look for overlapping tape. If the tape overlaps itself, it creates a thicker section that can catch on other boxes. This can cause the tape to tear when the box is pulled.
Examine Flaps and Corners
Open the top flaps and inspect them. The flaps are the first part of the box to experience stress during stacking and handling.
Check for tears or splits. A tear in a flap can widen quickly. The box may look intact from a distance, but the structural integrity is compromised.
Look at the corners. Corners take a lot of impact. If a corner is dented, crushed, or split, the box has already experienced damage. This damage may have occurred during conversion, storage, or handling before it reached your dock.
Check the bottom flaps. The bottom is where the box sits. If the bottom flaps are crushed or the board is torn, the box will not support its weight. This is especially critical for heavy freight or for boxes that will be stacked.
Inspect the glue. If the box has glue tabs instead of tape, check the glue lines. The glue should be a continuous, even strip. Gaps or thin spots in the glue can cause the bottom to open.
Verify Labels and Markings
Labels and markings are not just for identification. They tell handlers how to treat the box.
Check that all required labels are present. This includes the shipping address, product name, and any hazard symbols. A missing label can cause the shipment to be delayed or returned.
Inspect the barcode. Scan it with a handheld reader. If the barcode does not scan, the label is damaged or poorly printed. This will slow down receiving and can cause errors in inventory management.
Check the orientation symbols. Arrows or “this side up” symbols tell handlers how to position the box. If the box is fragile, these symbols are critical.
Verify the weight labeling. The net weight and gross weight should be clearly marked. This helps handlers avoid overloading carts and forklifts. It also helps with shipping cost calculation.
Look for damage on the labels themselves. A label that is peeling, faded, or covered in dust may not be legible. Replace any damaged labels before the box leaves the facility.
Review Documentation and Samples
Keep a sample box from every pallet or shipment. Do not discard it immediately. If a claim is filed, the sample provides evidence of the box condition at the time of shipment.
Photograph the box from multiple angles. Include close-ups of the tape, flaps, corners, and labels. This documentation supports your position if the box is damaged in transit.
Review the packing list and bill of lading. Confirm that the quantity of boxes matches the count. A discrepancy here suggests a counting error or a missing box.
Check the temperature and humidity logs if the shipment is for sensitive goods. Corrugated packaging is not temperature-controlled, but extreme conditions can affect the board and the contents.
Quick Reference Table
| Inspection Point | What to Check | Red Flag |
|---|---|---|
| Dimensions | External and internal measurements | Deviation greater than 10 millimeters |
| Board Edges | Cleanliness of cut lines | Torn, ragged, or frayed edges |
| Fluting | Pattern and integrity of ridges | Crushed or flattened flutes |
| Tape Seal | Center placement and adhesion | Tape lifting or weak press |
| Corners | Impact damage and splits | Dents, splits, or crushed boards |
| Labels | Barcode scan and legibility | Unscannable barcodes or missing labels |
Final Sign-Off Procedure
Before releasing the shipment, perform a final visual scan. Walk the line of boxes. Look for outliers. A single damaged box may indicate a broader problem with the conversion process.
If you find a significant number of defects, stop the shipment. Contact the converter or supplier. Do not ship boxes that fail the inspection. The cost of a rework is far lower than the cost of a failed shipment.
Sign off on the inspection form. Include your name, the date, and the batch number. This creates a clear record of the quality check.
Frequently asked questions
How many boxes should I inspect from a large shipment?
Inspect at least three boxes per pallet. Choose one from the top, one from the middle, and one from the bottom. This gives a representative sample of the shipment.
What if the tape is paper-based instead of polypropylene?
Paper tape is acceptable for dry, controlled environments. It is not recommended for outdoor shipments or areas with high humidity. Check the shipping conditions before deciding.
Can I reuse a box that failed inspection?
Only if the defect is minor and does not affect structural integrity. A small tear in a flap that has been repaired with strong tape may be acceptable. A crushed board or failed seal is not.
How do I document a box defect for a claim?
Take photos of the damaged area and the full box. Note the carton number and the pallet position. Include the date and time of the inspection.
What is the most common reason for carton failure in transit?
Weak tape seals and crushed fluting are the most frequent causes. These defects are easy to spot during a pre-shipment inspection. ===END===